I feel the same this year! I have seen all of their personalities emerge in their artwork and I am so proud of every one of them! Enjoy the pièce de résistance of fifth grade!
step by step instructions
last year's portraits
If you are looking at these on your mobile device you can tap the photo for a clearer picture
Ok I have had several people email me asking for the steps. I have posted a link to some of the steps in the painting process. This is how I organized the drawing part.
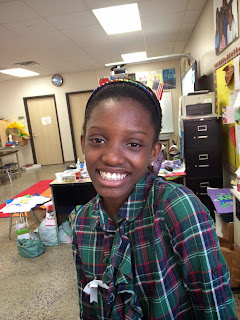
Take a picture of the student with your phone. Then let them either bring a photo of a pet from home or choose a picture from the internet. I put the photos in a word document. You can use whatever program for organizing that you choose.


2. Use a smart board or projector to project the images for the students to trace. Tape the paper on the board and Trace face
Eyes-eye lids, iris, pupil, reflection of light)
nose (no lines on the side, we will paint shadows there) just the nostrils
mouth- lips but no lines in between the teeth
hair- outline the “shinys” and the dark parts
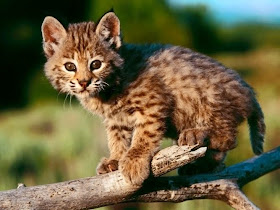
Then students position their animal on the portrait and trace animal into the composition, making sure to outline shadowed areas, texture, and the parts of the eye.
skin toness are mixed with mostly brown and water with a drip of red, pink, and yellow (obviously vary the amount of brown and pink per different skin tone)
3. when everyone has finished 2 start with hair and skin tones painting
Students mix skin tones with water, squirt of brown, a drip of red, and a drip of yellow, and drip of pink mix with water and test on test paper until the desired color is achieved then paint the face, don’t forget arms, neck, and ears with that color.
Leave teeth, eyes, and shinys white
While paint is wet blot the cheeks, forehead and chin with tissue. The areas that stick out on your face catch the light
When the face is dry, choose the light source right or left and add another layer of skin tone to the shadowed areas (side of nose, under eye brow eye lid, under bottom lip, under chin on neck and side of the face/forehead)
4. Paint the hair, but pay close attention to shadows and shinys (I have to find five shades of brown/blonde/red on hair it can’t be solid. There HAS to be shineys
5. paint eyes and mouth mix a bit of red/pink to skin tone for lips. Use black sharpie for the pupil, paint iris careful to leave the shiny white. Use tiny tiny brush for eyes, add eyelashes every so softly whisper brush
6. paint clothes and animal, must use value for every part When choosing color for the clothes and the animal they can paint the animal colorful but then they need a neutral background. If the animal is black and white/ brown/ or neutral colors, then make a colorful background. The colored parts will POP and the neutral parts will set back. They can give unity to the composition by tying in colors of the animal in the person’s clothes or accessories
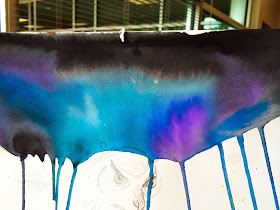
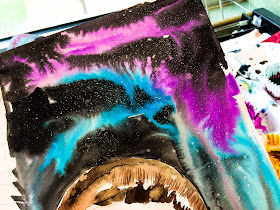
Students are using a wet on wet technique for backgrounds. Drips and Splats are welcome!
Animals can coordinate with clothes and accessories, but not completely match
we use liquid watercolors for the whole process


