Search This Blog
Friday, January 31, 2014
Thursday, January 30, 2014
Roller Coaster Paper Sculpture
These paper roller coasters are SO fun to make. All you need is strips of construction paper. The steps for the little car are below.
Wednesday, January 15, 2014
Animated Gif tutorial (Update)
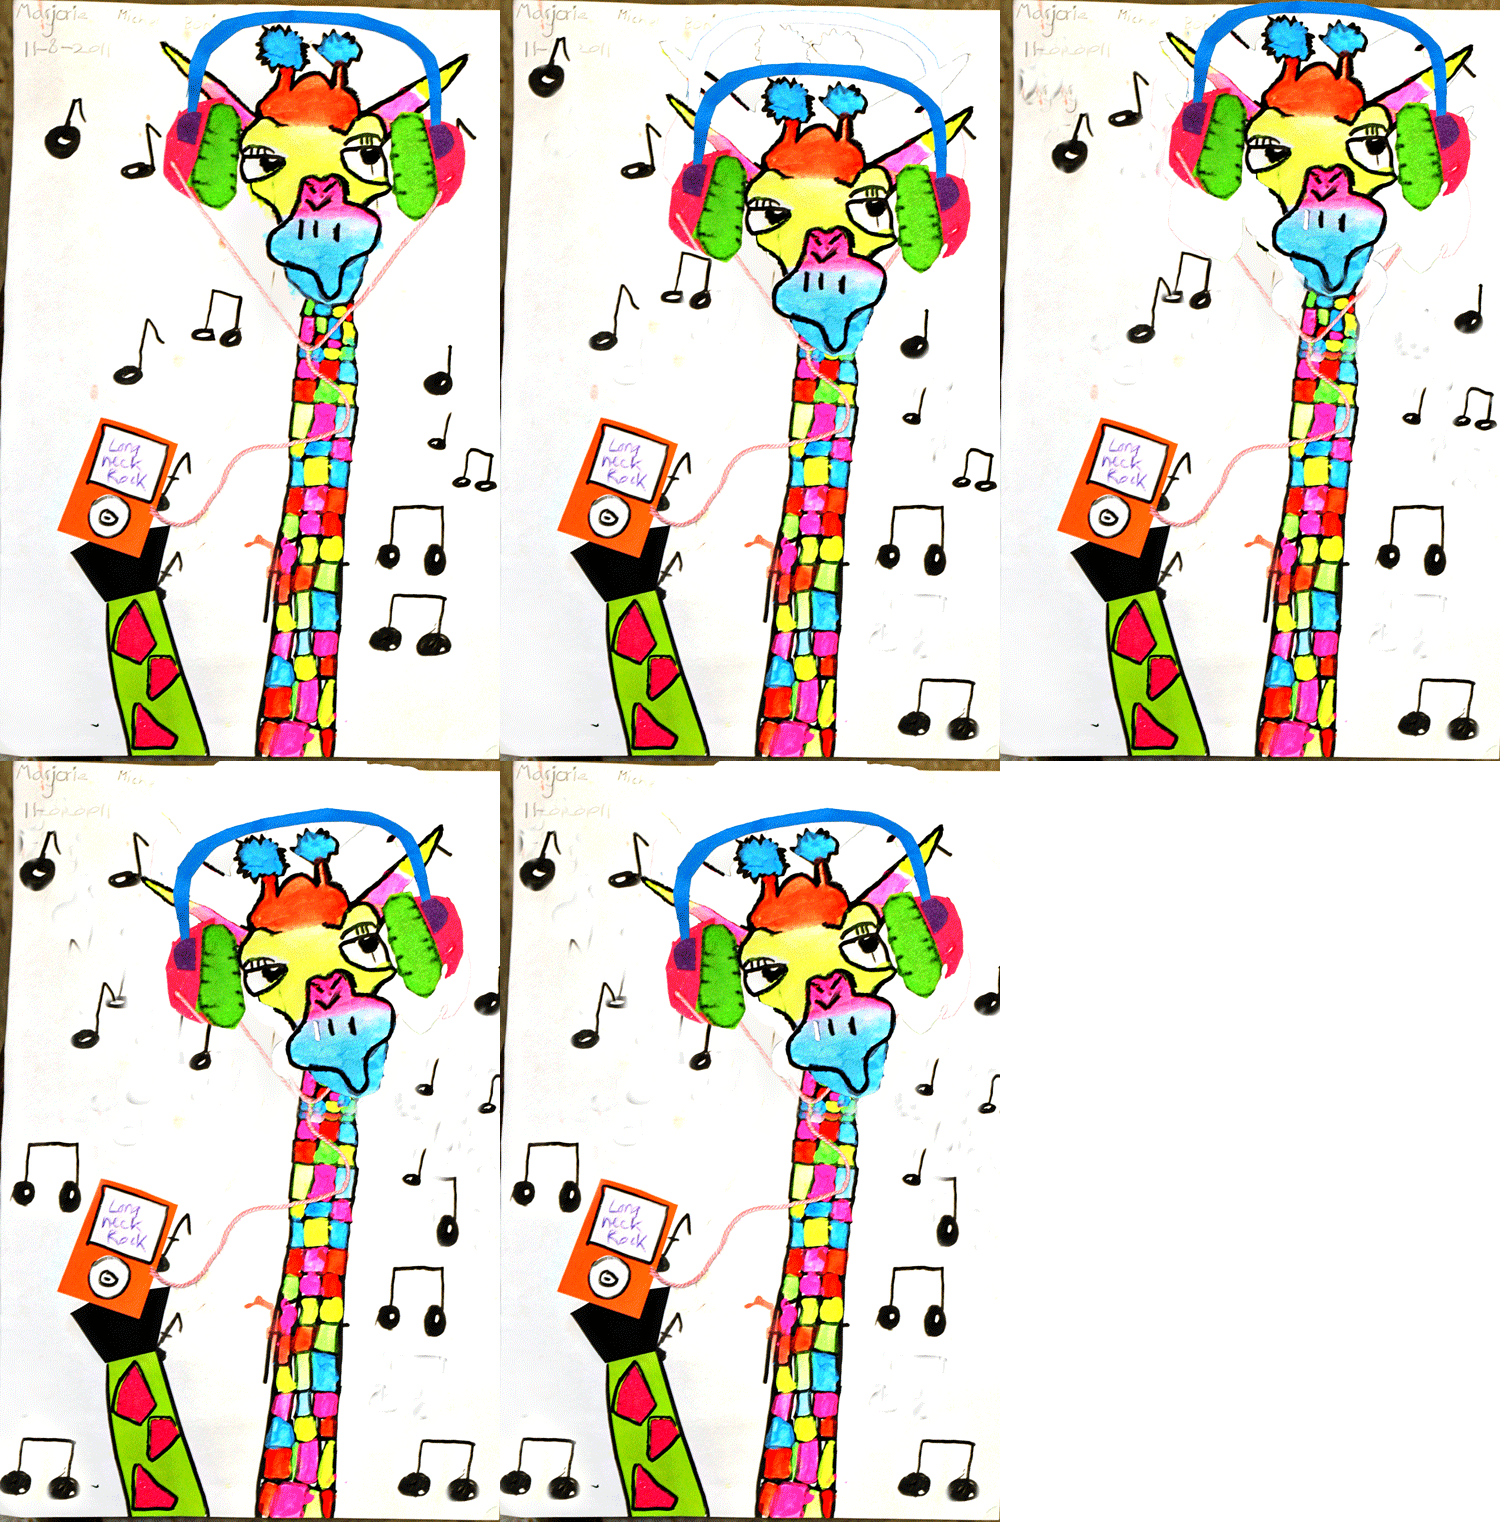
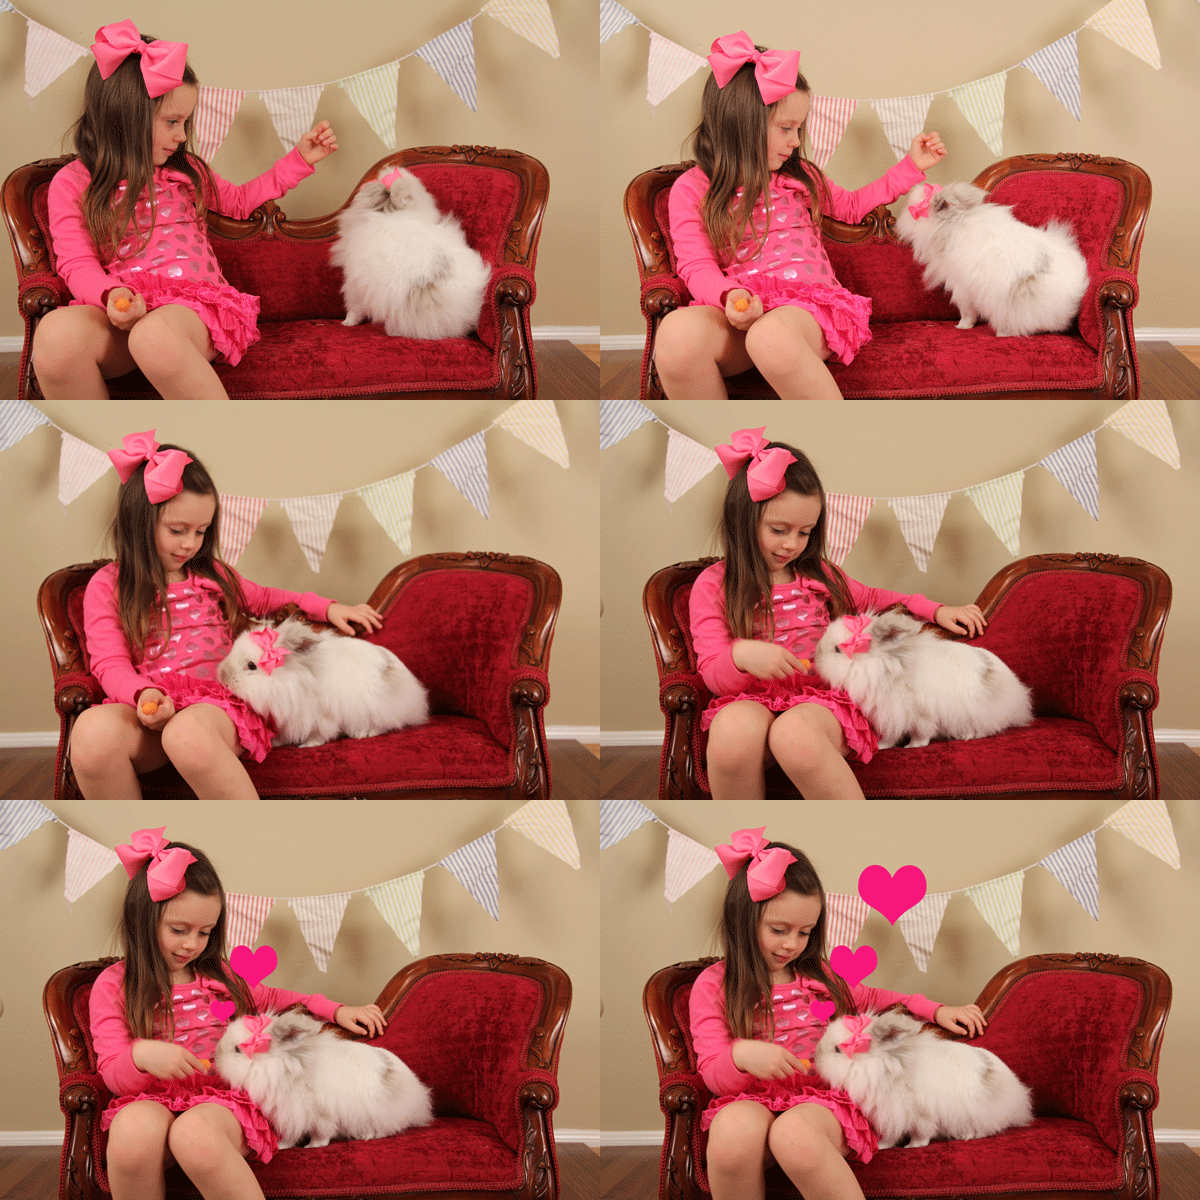
Update: I have had so many emails about the GIF this week. I have had SO MUCH FUN making animated gifs this week! Many of you are not familiar or do not have access to photoshop. If you find a great animation App let me know and I will add the links to my next blog post. Also, if you are a blogger, and would like for me to animate a photo of an artwork for you to use on your blog, (depending on how many I get :-) send me a photo of an artwork and I will convert it to an animated gif as my GIFt for you. I am only going to offer this for a few days. Send me a link to your blog too and I will feature your blog with the gif on my blog!
This is the tutorial I followed to create the animated gifs using photoshop CS4. I would love to know if you have an APP that does something similar. I used the "liquify" tool under "filter" to make the peacock's feathers move. distort your photo with that tool to make something wiggle. I also used the custom shape tool to make the hearts. When making something move I would select it and cut and paste it somewhere, then use the clone tool to fill in the background from where I cut. I played around with it for a while and it's really fun! The possibilities are endless as far as photo manipulation to create different types of animation in photoshop.
Tuesday, January 14, 2014
Monday, January 6, 2014
Simple Clay Rose Hearts
So, if you read my blog, it is no surprise that I am going to do a project with hearts for Valentine's Day. If you look on the labels on the right side of my blog you can find other "hearts
blog posts! We also did a clay rose project for Mother's Day last year you check out under "roses" on the label bar to your right! It is definitely my favorite shape! I have been playing around with some ideas and today I figured out a very easy way to make a rose to adorn a heart shaped slab. I have posted clay roses before but this technique is much EASIER for making tiny roses. My daughter who just turned 4 made this today!
blog posts! We also did a clay rose project for Mother's Day last year you check out under "roses" on the label bar to your right! It is definitely my favorite shape! I have been playing around with some ideas and today I figured out a very easy way to make a rose to adorn a heart shaped slab. I have posted clay roses before but this technique is much EASIER for making tiny roses. My daughter who just turned 4 made this today!
Begin with a coil and pinch the top of the coil from one end to the next. When you pinch the top of the coil, let the clay squeeze out and form a little ripple at the top.
Slip, score, and use a little extra slip to attach the rose since you cannot press the top or you'll squish it! We used a paintbrush to apply the slip
You can use a letter stamp to write a sweet note in the middle or personalize it
My daughter was addicted to making roses, and ended up spending 2 1/2 hours making roses and clay hearts!
I can't wait to get out all my red and pink and white glazes for these!!
Saturday, January 4, 2014
2014 Year of The Horse
When we return to school, Tuesday, students will be learning about the Chinese New Year January 31st 2014. The horse is this year's symbol on the Chinese Zodiac!
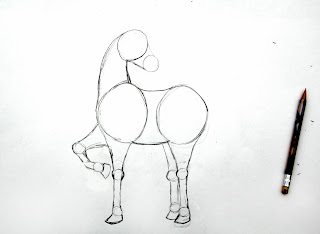
Here are some steps to draw a horse. Students will then use other elements like the Chinese symbol for horse, lanterns, cherry blossoms, etc. to create their own original artwork based on 2014 Chinese New Year! I cannot wait to see their unique creations next week! Here is a link with a lesson and great video for the Traditional Chinese New Year Lion Dancers
sketch the circles VERY lightly because they will need to be erased later
the circles create a realistic structure for the body of the horse.
erase the circles
Valentine Chalk Board Art
First cut a large rectangle out of black foam board or poster board. Create a border with painters tape. Use gold acrylic to paint the frame. Peel away the tape when paint is dry.
I found a cute "bee Mine" image on this fabulous blog! fabulous blog click here
I have not done this project with the kids yet, but I can't wait to see how they turn out! The example turned out great!
white paint pens to draw the design.
Here are a few fun ideas for students to get ideas for their own chalk board.


Subscribe to:
Comments (Atom)


.jpg)
.jpg)
.jpg)
.jpg)
.jpg)
.jpg)
.jpg)
.jpg)
.jpg)


