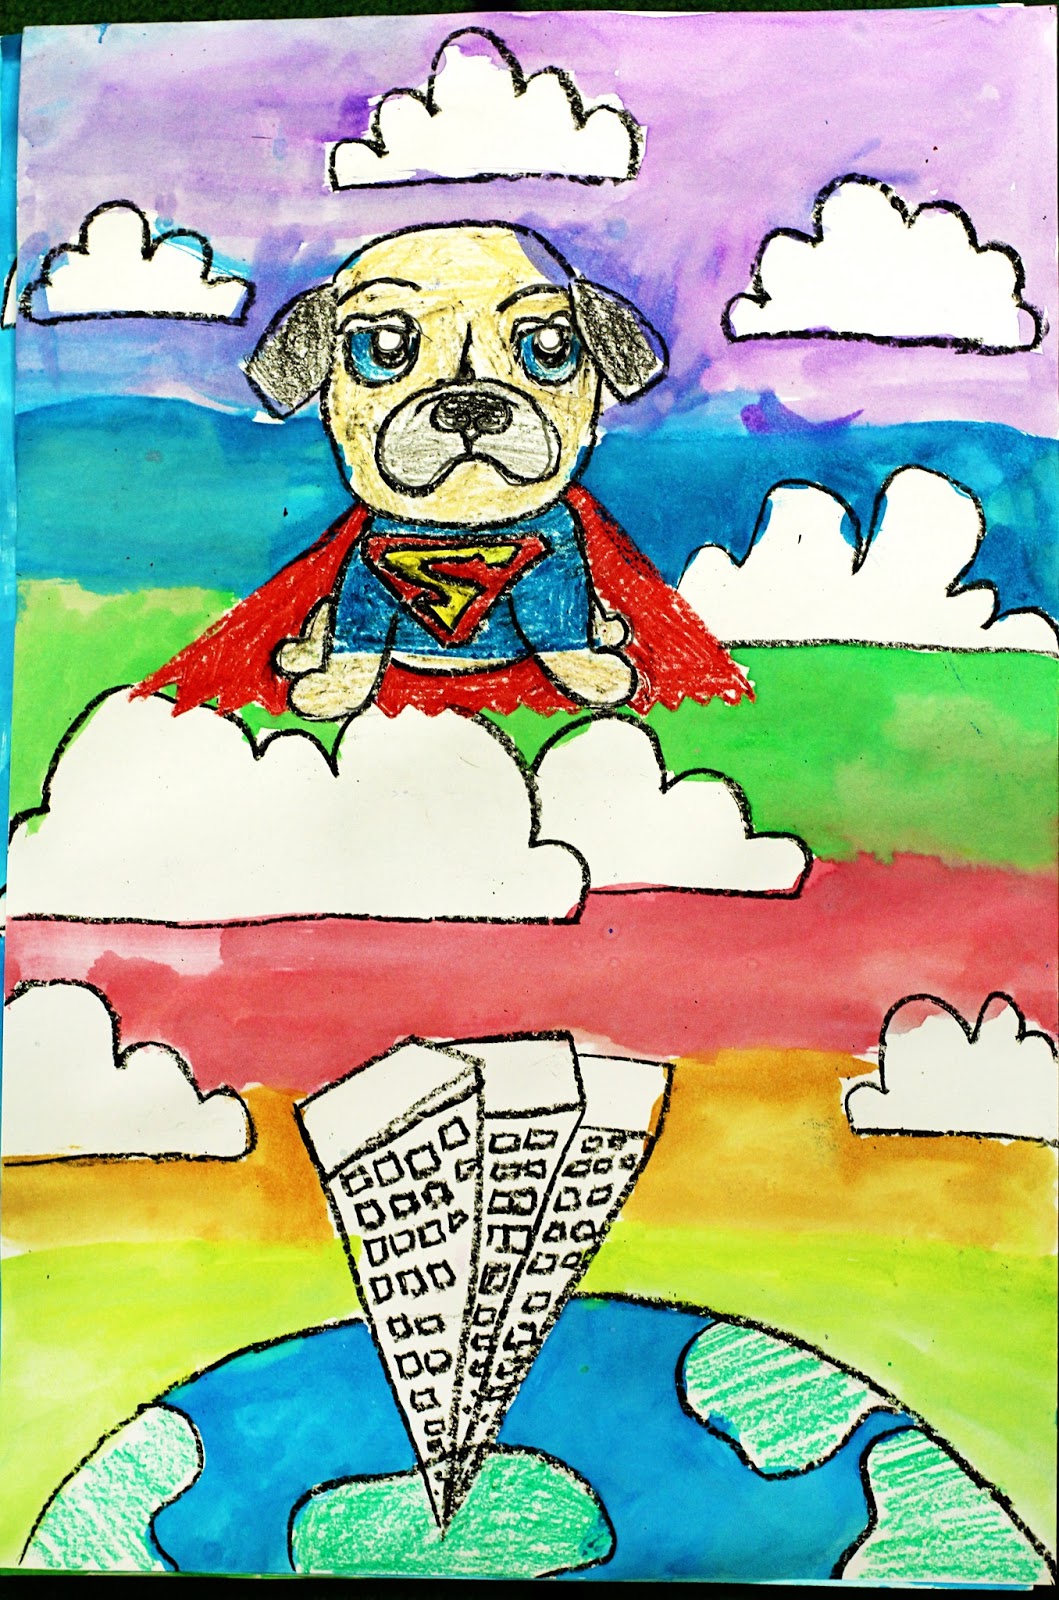
The past few years, I have received numerous emails about how to make the monster Alien head and the 3-d lizard head. Today I took some pictures to show the steps of how to create the head. It is very simple and can be done with 2nd -5th successfully. When making the monster, add eyes, ears, horns, antennae, teeth, tails, legs, spots, the possibilities are endless! This is also the same head for the Easter bunny puppet. There is a link to those lessons below.


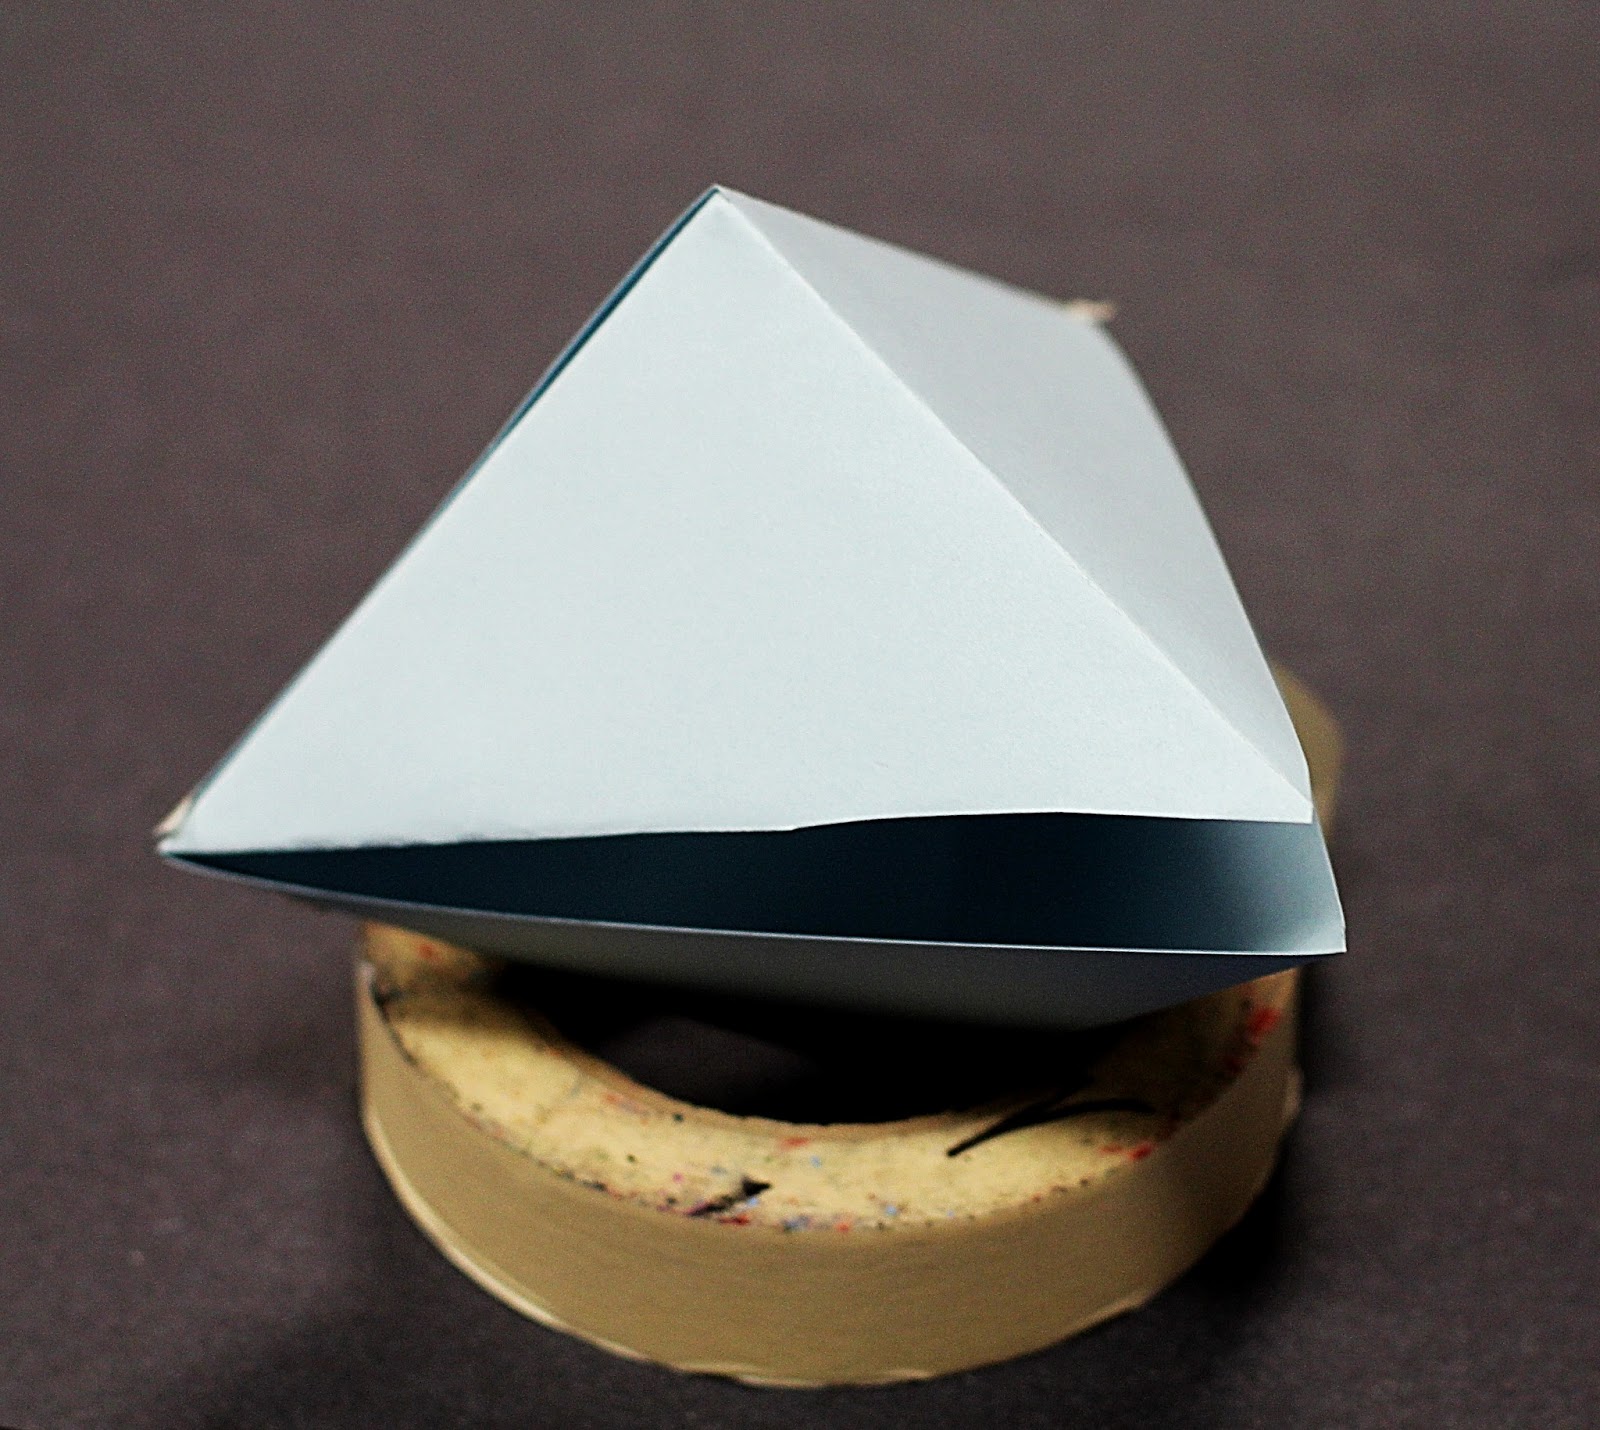
You will need a piece of tag board/card stock about 8 1/2 by 11 for the monster a little bit smaller piece for the lizard. Fold in half

cut in half and fold the tops down along the side edge


Fold the squares diagonal the other way, so that you see an "X"

Cut one side of the "X" and stop in the middle

glue those sides together to make two tiny pyramids


We have been doing so many things in art and I have just not had time to post lately. If you would like to see more detailed directions, or step by steps of these lessons, please leave a comment. I LOVE hearing your feedback and knowing what you like to see on the blog so I can post more about those things....I haven't heard from you in a while.


Since the end of the school year is nearing, some grades are finishing up their larger scale projects and doing one day projects for fun. This city project is SUPER fun and simple. I actually get an APPLAUSE when I open the paper to reveal the print!!

This works best on regular zerox copy paper. First look at images of city skylines and talk about the shapes of the buildings, the sky and the reflections on the water. Then draw the city starting at the horizon line with trees, a road, and a bridge. Then draw the smallest buildings first so they can overlap the larger ones. They use a yellow crayon for the windows, stars, and fireworks, then color over them with marker to make a crayon resist when printed

The you spray water on the WHITE part of the paper and fold to print


Some fourth and fifth graders are finishing writing their names using two point perspective. This was a fun and chelenging lesson. I think they learned ALOT and have been using this technique in their free drawings for fun! They made HUGE frames with strips of large black paper and gold paint pens