We looked at "Clover" and examined all of the shapes on her back and the texture on her arms
The kids loved watching her slowly walk across their tables as they worked. I put her on each table for a few minutes while I monitored her.
The kids used a large black Staonal crayon to decorate their shells with lots of shapes
to do the tissue paper printing
1. paint small area with water
2. place tissue on the water and then paint a little water on top of the tissue to make sure the whole square is completely saturated or I tell the kids "see through" on their turtle shell
4. when the tissue paper is dry, you can remove to reveal your beautiful print!
We used green paper to draw the head, and legs. They drew the eyes on white paper and glued the eyes on the turtles
Here are a few finished ones from second grade
I have been playing around with ideas for an Easter project
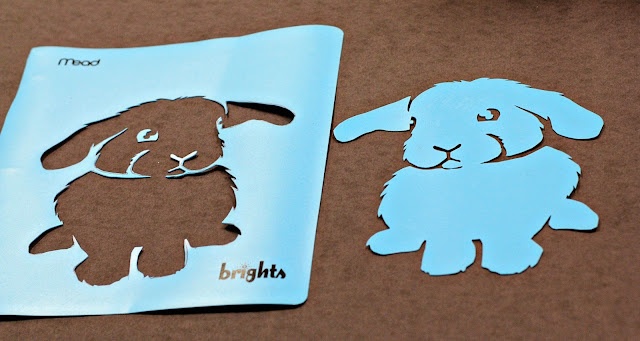
I thought of making bunnies using a stencil. Have you ever wondered what bunnies have to do with Easter? Bunnies are a symbol of Spring, but also a symbol of new life!
1.get a lightweight plastic binder like the one below
2. draw a bunny on it with a sharpie
4. I used Mod Podge to create the resist by blotting over it with a sponge brush. Tomorrow I am going to try this again using a spray paint clear gloss. I will post results...
5. When the Mod Podge dries, I used liquid watercolors to paint a design over the whole paper. I blotted the white part with a tissue as I painted to keep it nice and white. The lines were not as sharp as I had hoped, so I finished it off by tracing it with a sharpie. I am also considering letting the kids use silver spray paint to paint the stencil on black paper and use silver sharpies to make some zentangle eggs in the background...I will also post the results of those soon!!


 Line
Line


