Search This Blog

Tuesday, October 30, 2012

Go Away Big Green Monster and Skeleton Marionettes

Okay I am going to try to post every day this week!
Since I have been gone so long!! I have a lot to catch up.
Here is a kinder-first grade lesson idea that you can do TODAY! It’s so easy! First check out this book from your library, it has holes cut out and is a for sure crowd pleaser for the little ones!
IMG_9082
These are the pieces I cut before class. For the eyes, they have to fold it in half and cut a circle.
IMG_9081IMG_9110
We talked about emotion and colors. They could glue the mouth happy or sad/mad
IMG_9083
The quietest table gets to have a pet!!! SSSSSSSHHHHHHH don’t wake him up…he BITES!!
IMG_9086
IMG_9091
OF course we had to add glitter at the end…this art teacher LOVES glitter!!
They also had to write Big Pink (or green or orange) Monster to incorporate writing
IMG_9092IMG_9098IMG_9100IMG_9104IMG_9112IMG_9114IMG_9115
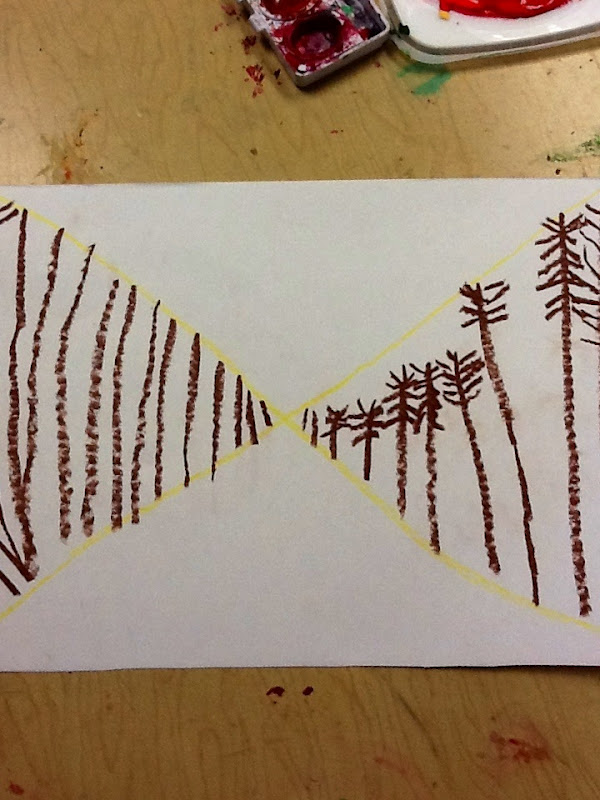
This project was with second grade. A 30 minute lesson.
We just drew a skeleton and taped it to some popsicle sticks and boom, you’ve got a marionette! I think this idea could be embellished with some Dia De Los Muertos decorations; hair,hats,maracas, flowers, glitter, and googly eyes!!
IMG_9158
we made them talk to each other and students created  mini puppet shows
IMG_9131IMG_9138IMG_9140IMG_9145IMG_9155
This weekend my daughter decided to give herself a creative hair cut! Yes she is sporting a mullet until we can take her to get something else…right now it’s a perfect new do in time for Halloween!! With a mom for an art teacher you have to know this was imminent. She cuts very well for a two year old and has access to scissors with all of our art supplies.

She thinks we should “glue it back!” Anyone else have a haircut story?

punk

hair1
At least we had our family pictures taken last week! Heres a few of them!! Perfect timing on that!
Waggenspack Family 2012 (15)

Monday, October 29, 2012

Catching up!!! Clay Workshop

Sorry for my temporary absence! I have been SOOOO crazy busy this year.  I have SO many things to post, so I am going to begin today and try to post every day this week!!! How do you like the new blog look? I'm not married to it yet, think it still needs some tweaking.

I will start with our super awesome clay session we had this weekend!
First we made a coiled vase attempting to purposely make it as unsymmetrical as possible...here is how you do it!!
First you cut your base (any shape) and put the first coil directly on top. use a flat round tool or even a Popsicle stick to smooth the coil on using gentle downward strokes at an angle on the inside and outside.
The next coil you will offset it a tiny bit on one side, and smooth again


Each time you place a coil on, overlap it a bit and cut so when you connect them, you are connecting two even sides flush


you can see in the picture below how that left side hangs over a bit

Each time you add a coil, you make the edge that hangs over a bit more to the left 

and the next one a bit more to the left

and the next one a bit more to the left...eventually you can add half coils to throw it off horizontally and also change the direction of your twist!


and so on and on, so eventualy your vessel will begin to have a twisty shape! Like its moving! It is SO cool!!
You can see the twisted shape mine began to have after a while

Eventually you can achieve effects like these beautiful pieces by the incredibly talented Sally Doyle!


 The next thing we did was using the Extruder. If you have never used one, think of a giant playdough factory noodle maker!! We made some beautiful things with tubes. First a cross. We started with some two inch tubes from the extruder. They had sat out for about 24 hours before we started, so they wouldn't be too soft.

We started by very gently twisting them in several random directions


 We cut a hole in the side and placed the side pieces inside

then reinforce with coils to make the seams strong in the middle of the cross

then smooth them out

Flip the cross and smooth the back

then we accentuated the twist curves and added holes for the "wounds of Christ" 


 you can make so many things from the extruder...some people made candle holders and other things


Here is my finished cross...it looks like a dead piece of wood. Any ideas on how I should paint/glaze it


stay tuned for more posts to come tomorrow!!


Tuesday, October 2, 2012

Tablet Picture Tuesday (again already)

I can't beleive its Teusday again and I still don't have a post ready! We are doing some fun things this week and will have a new post ready in a few days...until then, heres a few pics from around the art room this week for "Tablet Picture Tuesday"

Yes Kermit, yes, that is exactly how I feel right now...
Kick'n off the fall with some 1st grade sponge paint trees!!

1st grade paper hamsters!

third grade symmetry drawings +creative background!


kinder glitter paint handprint fish before decorations added

road with fall leaves


Total Pageviews